

Overview
Access Control in Go Fig governs who can view, edit, and manage resources across your organization, teams, projects, and data through hierarchical permissions, role-based access control (RBAC), and data-level security. Permission Hierarchy:Organization Roles
Admins manage the organization end to end: settings, billing, SSO, branding, users and roles, API keys, audit logs, and global data policies. Manage these at Settings → Membership.
A user’s organization role is separate from their team roles. For example, an Analyst can be the Admin of a specific team. Organization Admins automatically have member access to every team in the organization.
Team Roles
Teams have two roles: Admin and Member.
Team Admins manage members and roles, configure publishing and default project permissions, customize the Team Page, manage team connectors, and can access any project in the team (including private ones). Members create their own projects, access shared and published content, and publish (if policy allows), but can’t see others’ private projects or manage the team.
Project Permissions
See Sharing Projects for details. Quick Reference:- Edit: Edit and create assets within the project
- View: Read-only access (view, run, export only)
Project Creator Rights: Only the person who created the project can share it with others or delete it. There is no separate “Owner” permission level.
Data Permissions
Plan Availability: Data Permissions requires a Growth or Enterprise plan. Field-level security requires Growth or Enterprise. The activity log is Enterprise-only.
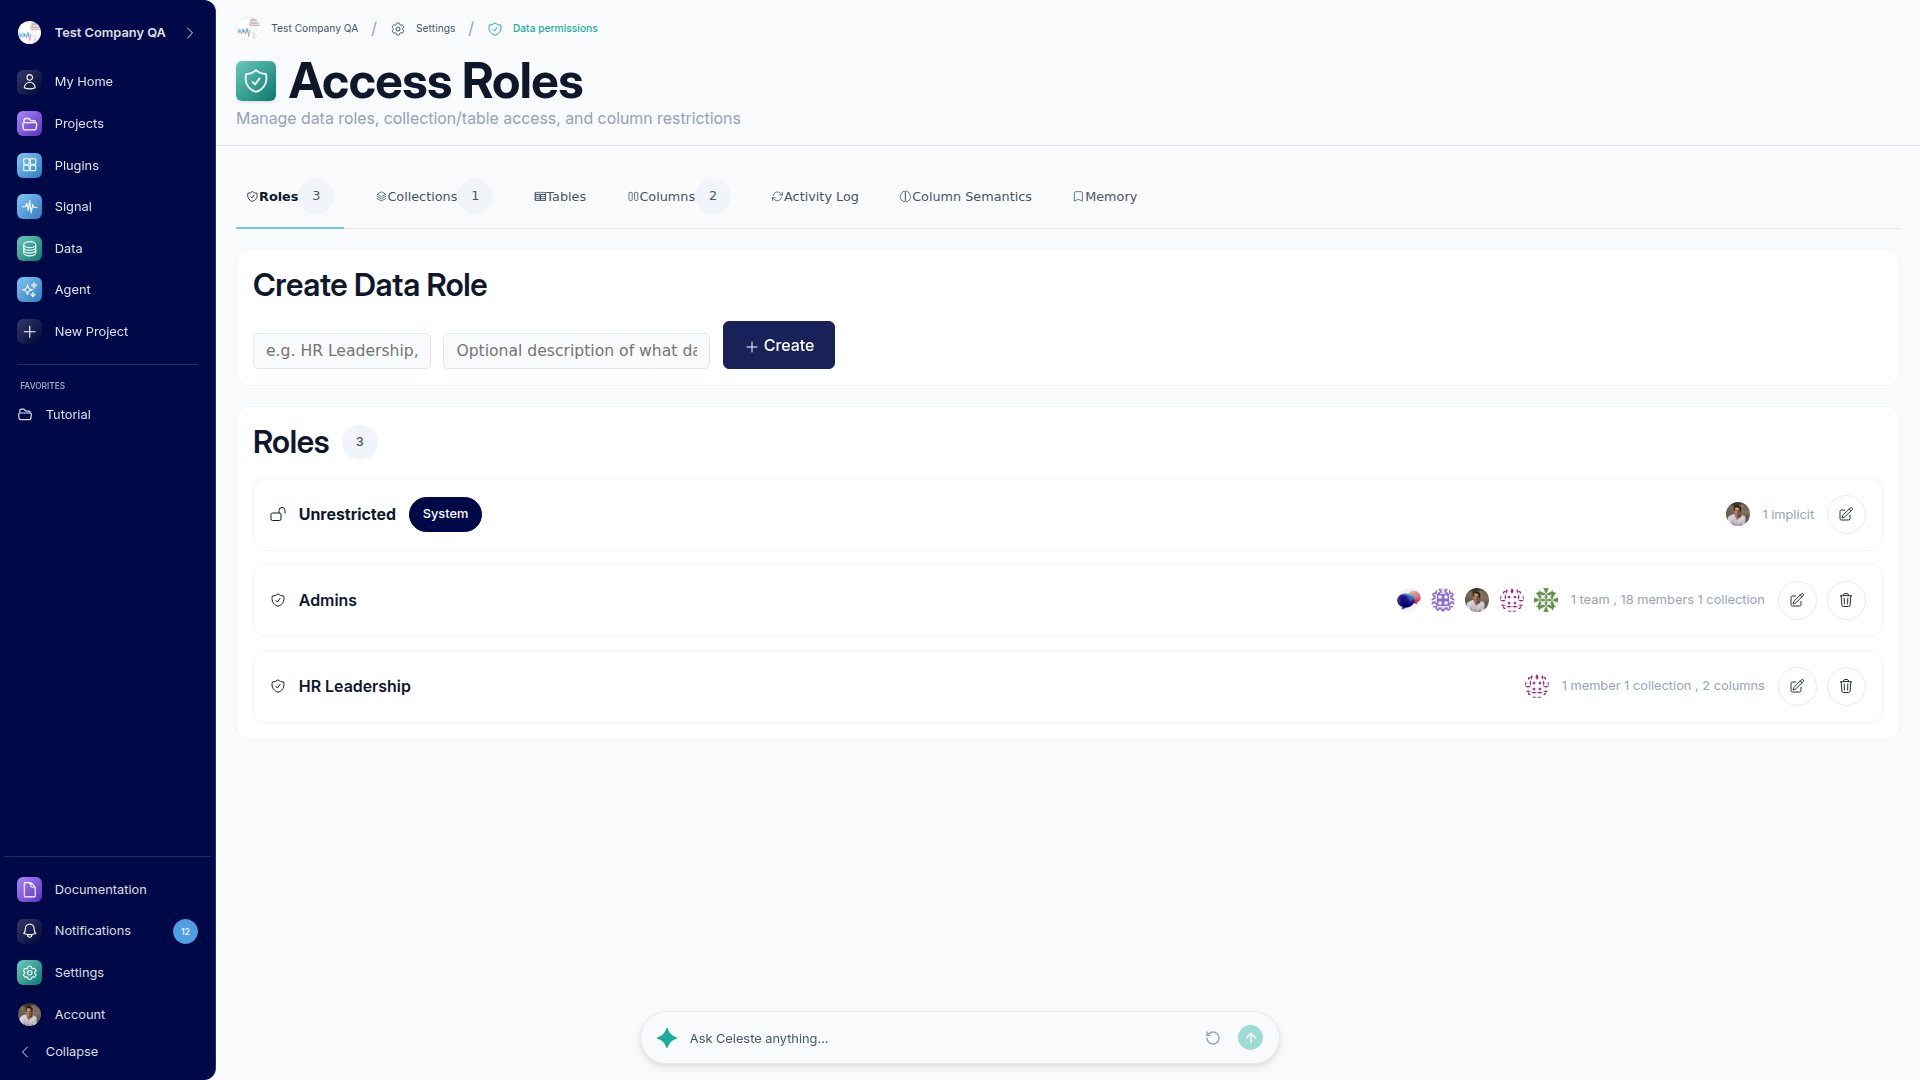
Data Roles
Create custom roles that control access to collections, tables, and fields. Assign roles to individual users or entire teams, and all team members automatically inherit the role. Examples:- “Finance Team” role → access to accounting collections only
- “Regional Manager” role → access to their region’s sales tables
- “Executive” role → access to all data, including sensitive fields
Collection & Table Access
Restrict access at two levels:- Collections: Choose which data roles, users, or teams can access an entire collection
- Tables: Layer finer control on top, restricting specific tables within a collection
Field Security (Growth & Enterprise)
Hide or mask sensitive fields from specific users:- Hide: Field is completely invisible, removed from all views, queries, and AI analysis
- Redact: Field name is visible but values are masked (e.g., “SALARY: [REDACTED]”)
Activity Log (Enterprise)
Track all permission changes (role creation, access grants, field restrictions) from the Activity Log tab. Useful for compliance audits and debugging access issues.Access Requests
When someone tries to access a resource they don’t have permission for, they can request access directly instead of seeing an error page. How it works:- You visit a restricted project, dashboard, or flow
- You see a “Request Access” page with the option to request View or Edit access
- The resource owner receives a notification with your request
- The owner can approve, decline, or adjust the permission level
Managing Roles
Adding Users
1
Invite users
Settings → Membership → Invite Users. Enter emails, assign organization role and teams, then send invitations.
Changing Roles
- Organization: Settings → Membership → Find user → Click role dropdown → Select new role
- Team: Team → Settings → Members → Find user → Click role dropdown → Select new role
Removing Users
- From Organization: Settings → Membership → Remove (loses all access)
- From Team: Team → Settings → Members → Remove from Team (keeps other teams)