

Overview
Upload files directly to Go Fig for one-time analyses, proof-of-concepts, or data that doesn’t live in a database or SaaS application. Supported Formats:- CSV (Comma-separated values)
- TSV (Tab-separated values)
- JSON (JavaScript Object Notation, including JSONL/NDJSON)
- Parquet (Columnar storage format)
- Excel (.xlsx, .xlsm, .xls)
- Maximum file size: 1GB per file (contact us for larger files)
- For larger or continuously updating datasets, connect a database instead
Uploading Files
1
Open the upload card
Click Add data source on the top right of your Organization’s Connectors page, then select Upload a File, the second card in the gallery.One card handles every supported format, so there is no file type to pick first. Go Fig reads the format from the file itself.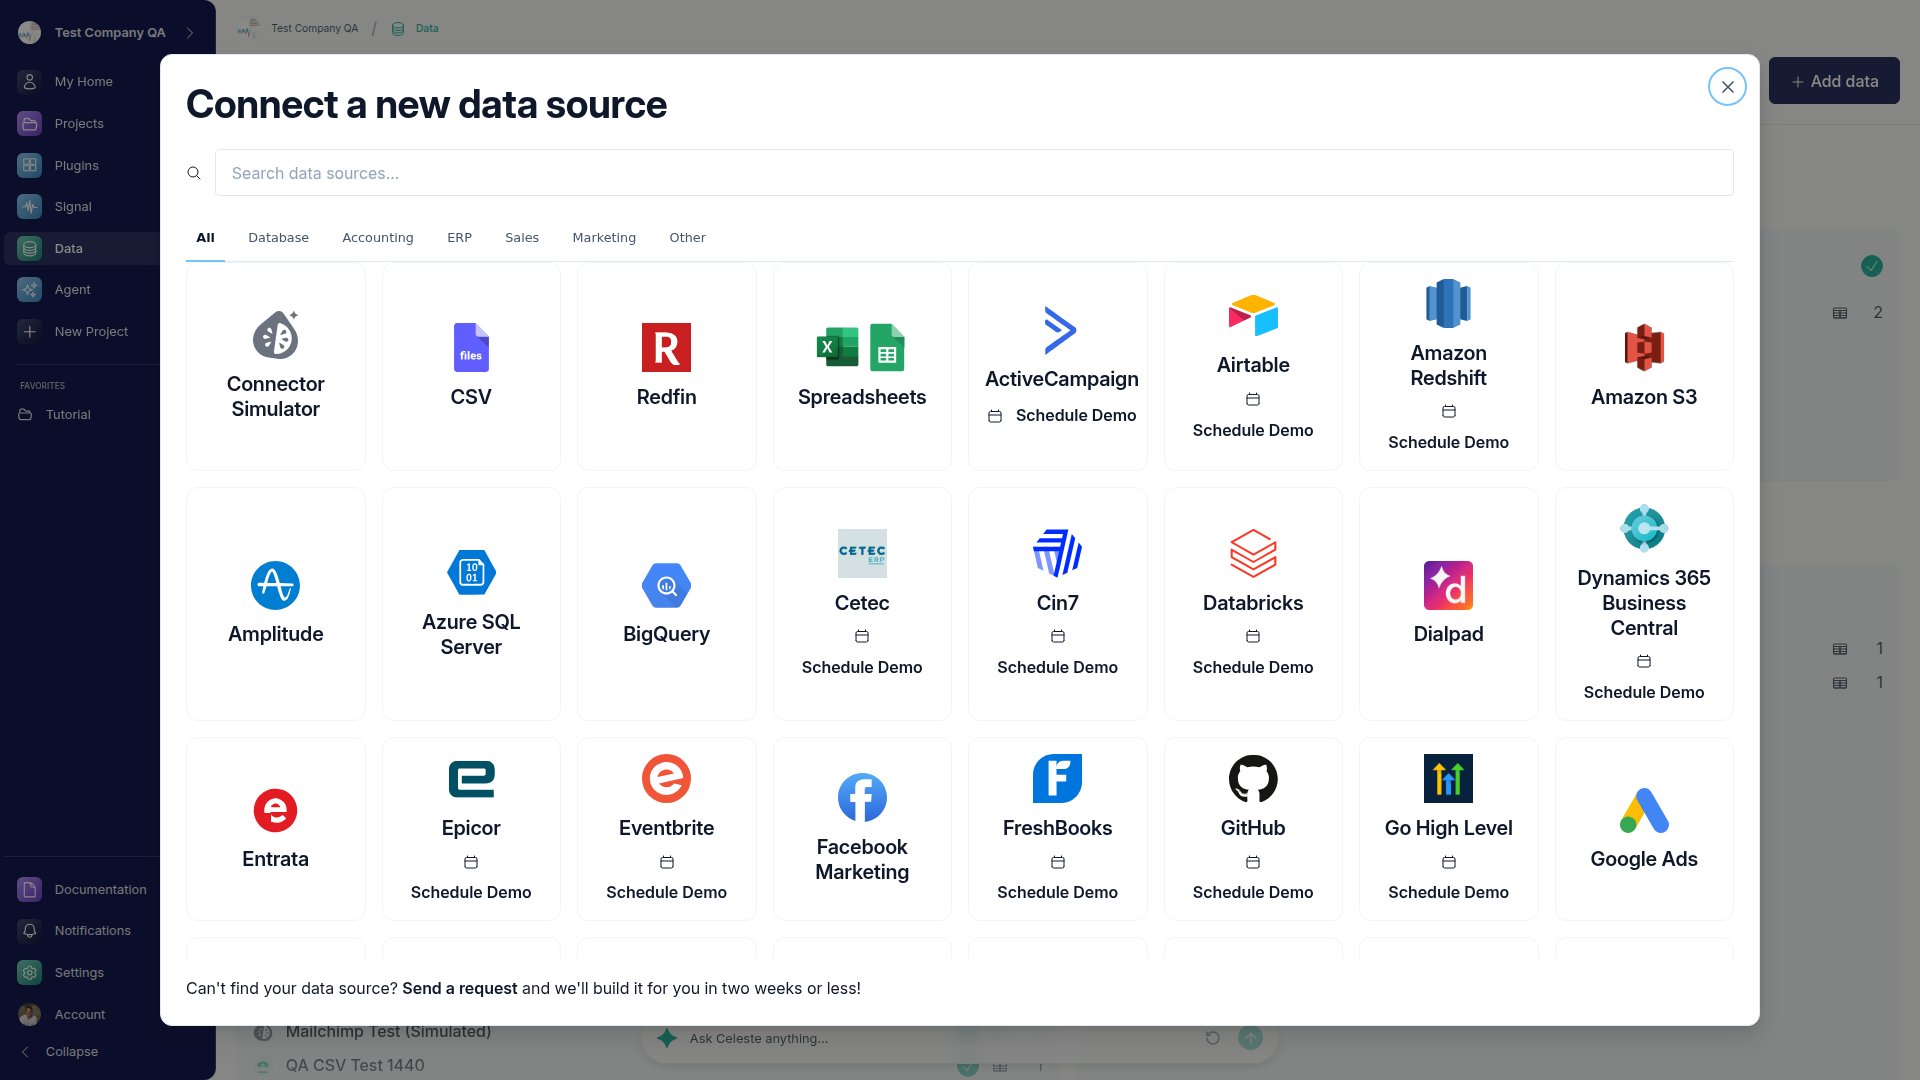
2
Upload your file
Drag and drop your file onto the upload zone, or click Choose File to browse your computer.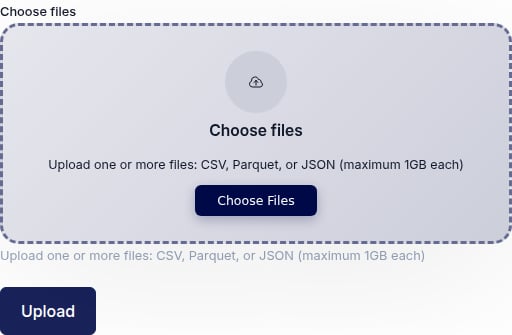
3
Provide Collection name
Provide a Collection name to organize the upload.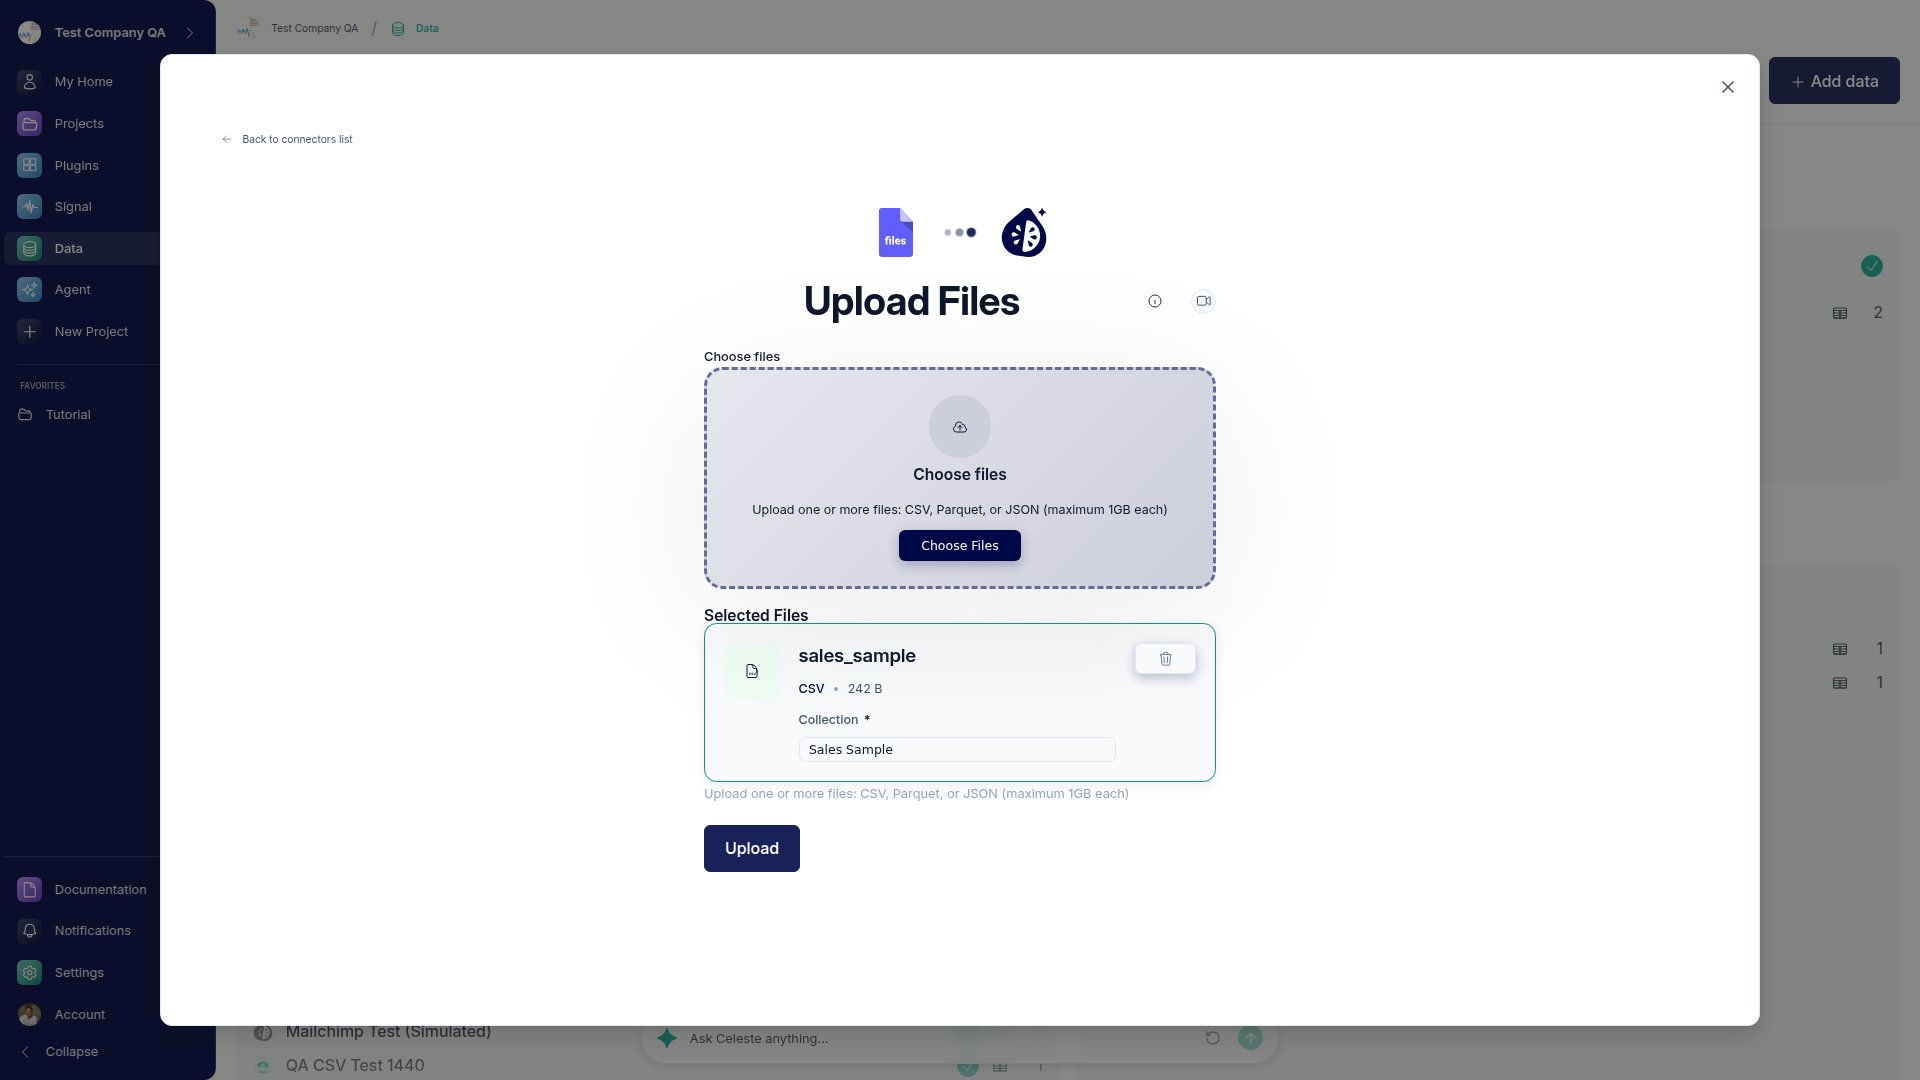
4
Save
Click Save to complete the upload. Once the file finishes syncing, your data is available as a table you can preview and explore.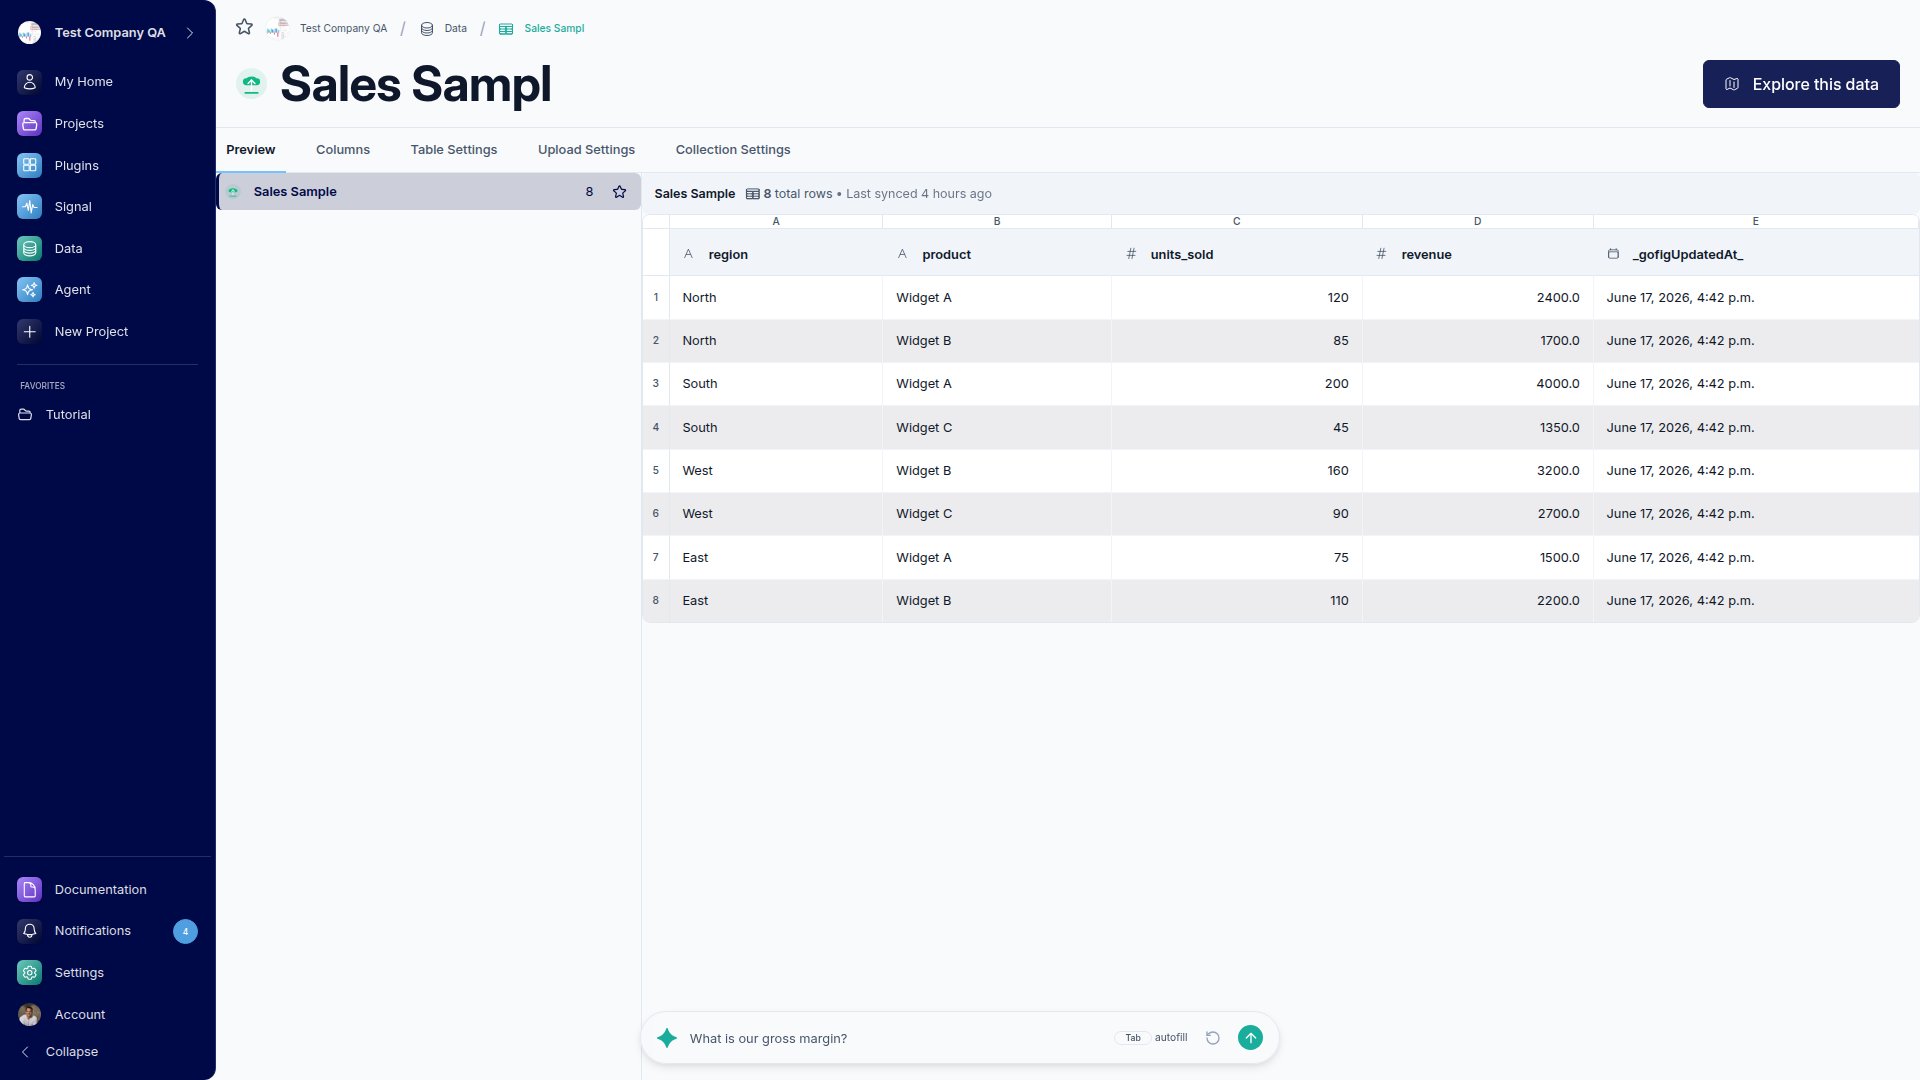
Updating Uploaded Data
To update data in an uploaded file:1
Open Upload Settings
Navigate to the collection in which your upload table is saved, preview the table, then click Upload Settings.
2
Click Replace File
Click Replace File in the connector details page.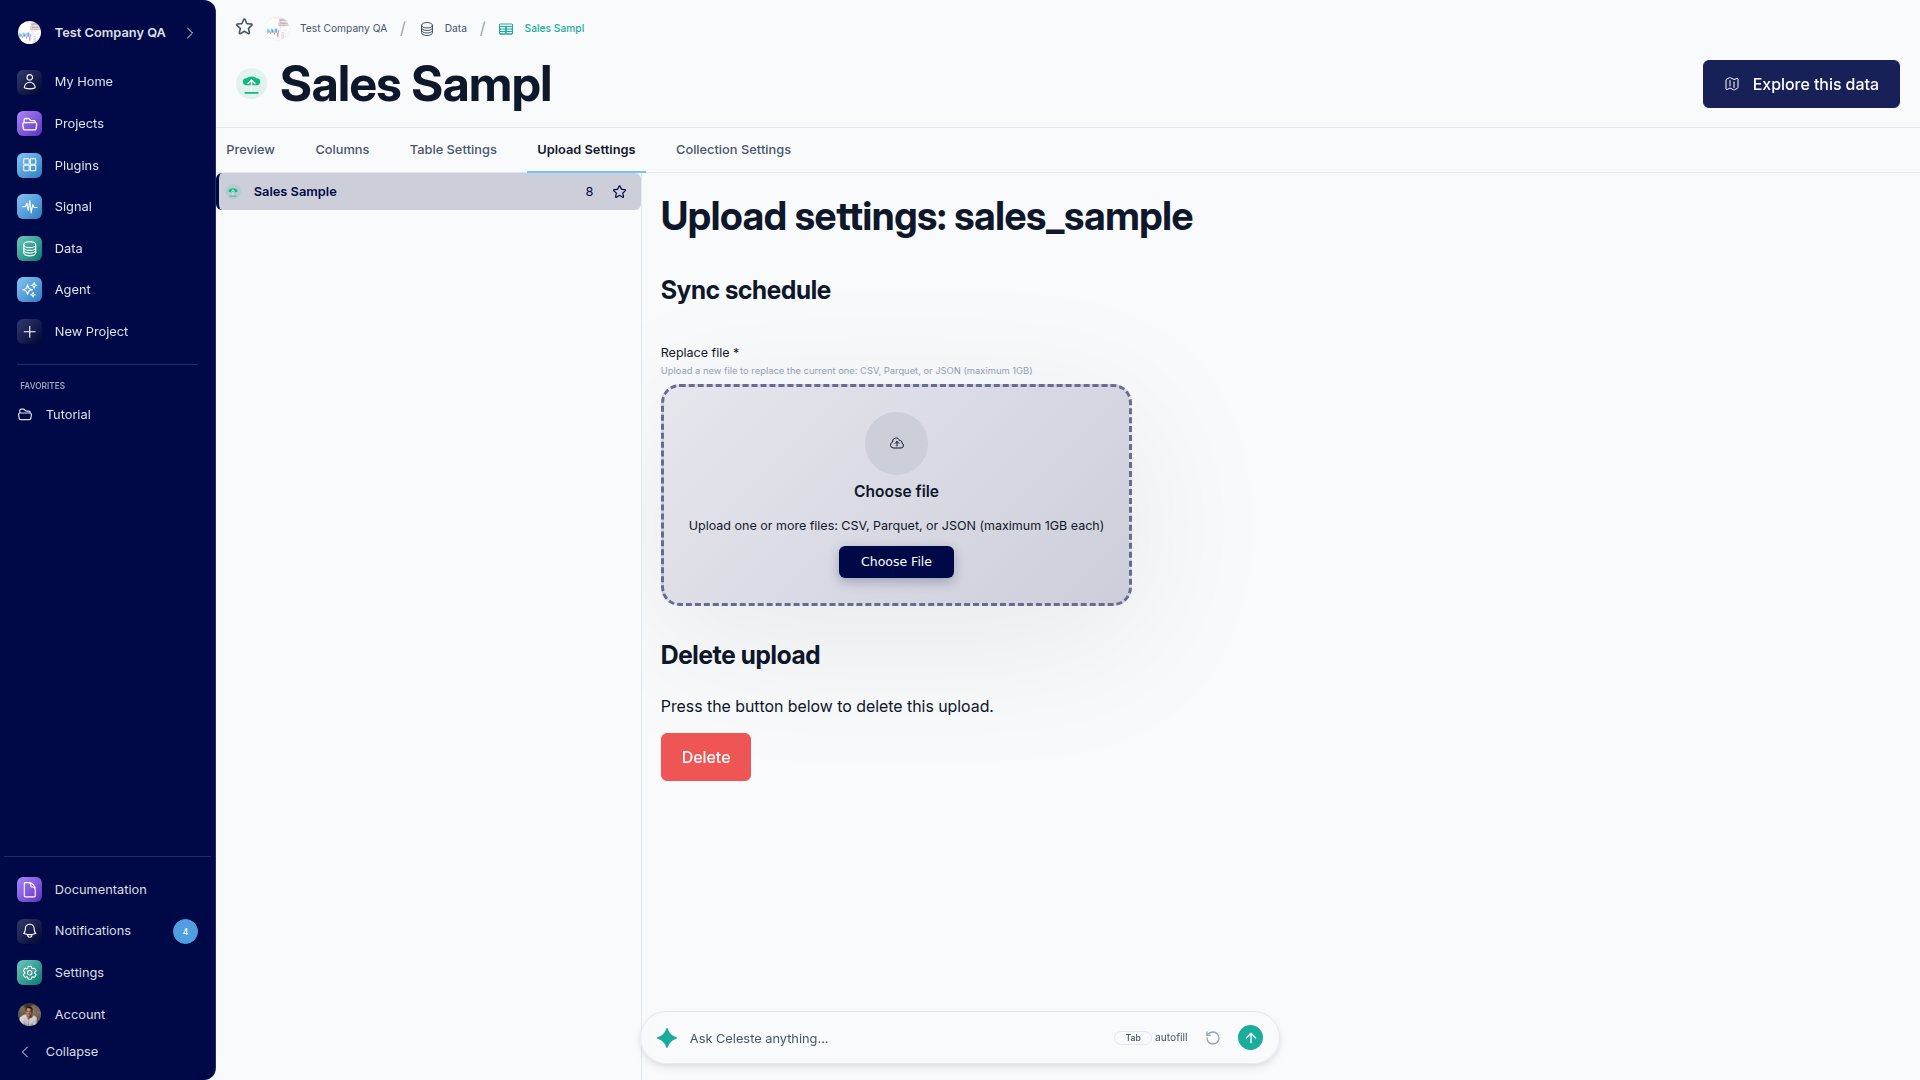
3
Upload new file
Upload your replacement file using the file picker.Once you upload the new file, Go Fig automatically starts syncing the data. You’ll see a confirmation message “Sync started for [filename]” and be redirected to the Connectors page.
Automatic Sync: You don’t need to manually trigger a sync after uploading. The system automatically processes your new file and updates the table.